

Last week I shared with you Part 1 of how to create my Perfume Bottle.

The first part of the tutorial covered up to this point, how to insert ice resin into a paper piece. You can view the tutorial HERE

Today I will share with you how I finished up the project.

Step 1:
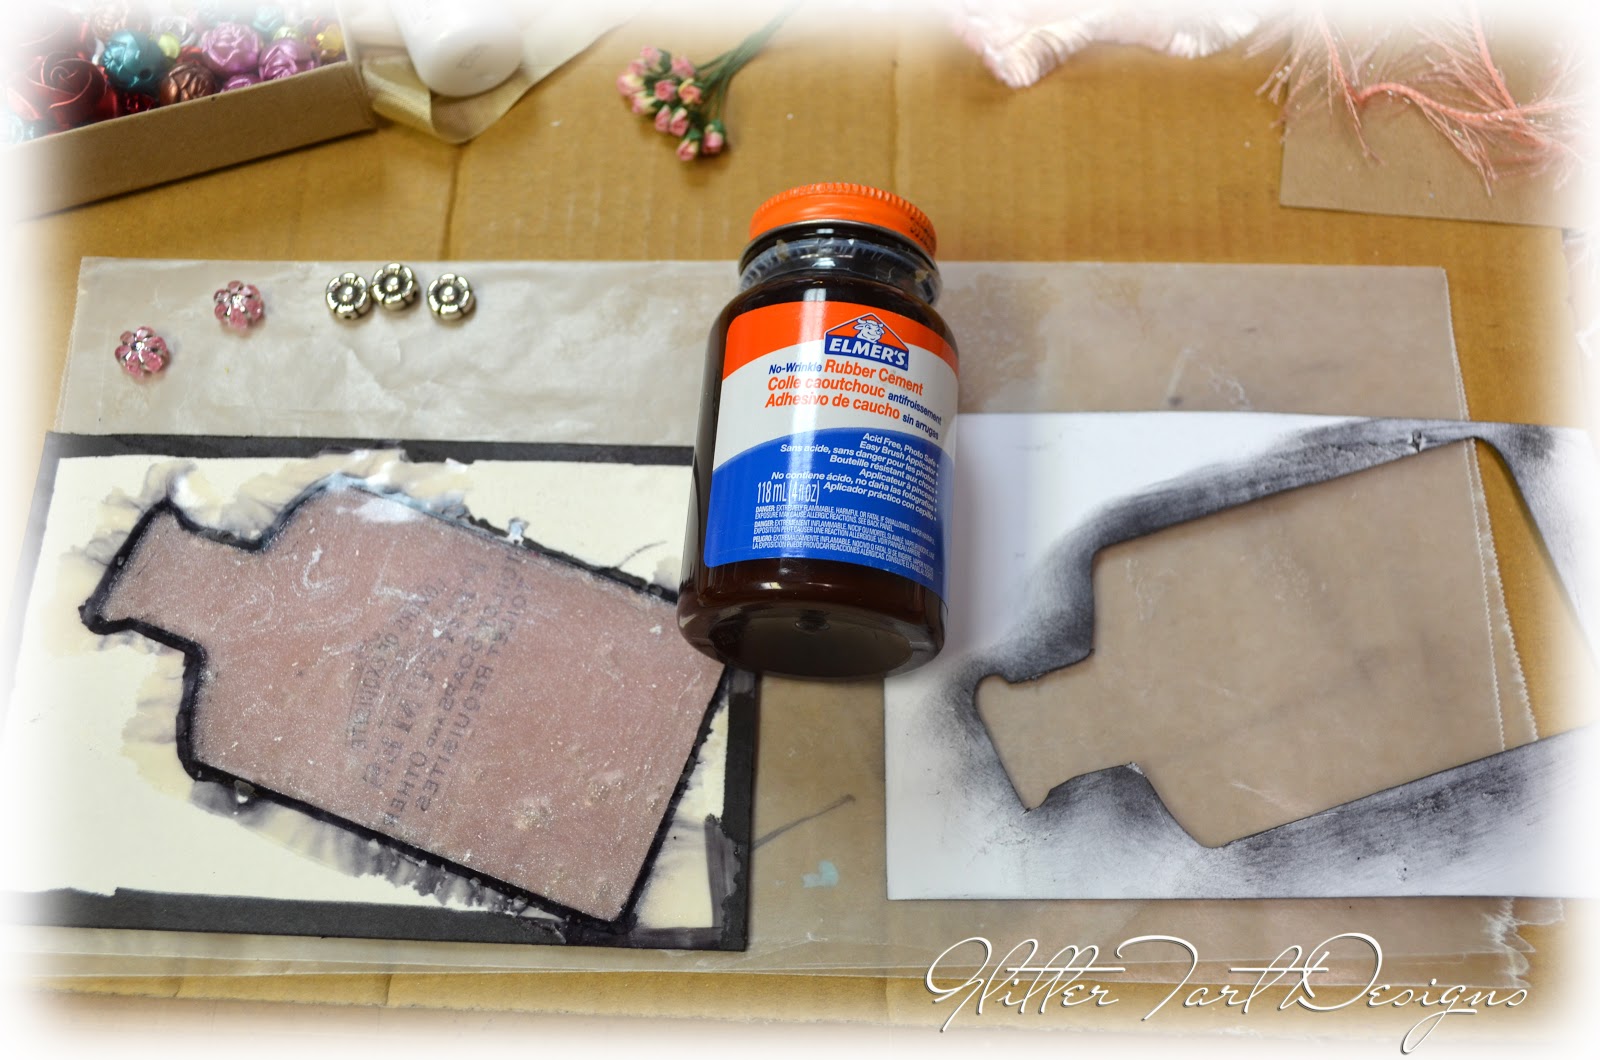
Prepare your embellishments by spray painting them with a white gloss paint..
The ones I used have been discontinued but a good substitute would be these

Step 2:
Print out Vintage French Ads digital collage sheet onto a clear sticker paper.

Step 3:
Cut out and place the label onto your Ice Resin Perfume Bottle.

Step 4:
Select a backing paper and trace an opening the size of the bottle onto it.
I used paper from the Lyric 6x6 Paper Pad

Step 5:
Cover all edges with black ink.

Step 7:
Attach backing paper to chipboard using Rubber Cement.


Step 8:
By now the white paint should have almost completely dried.
Using the same PearlEx powders I mixed into the Ice Resin,
I dusted the swirls with the powder.


And sealed them with a high gloss spray sealer/finisher.
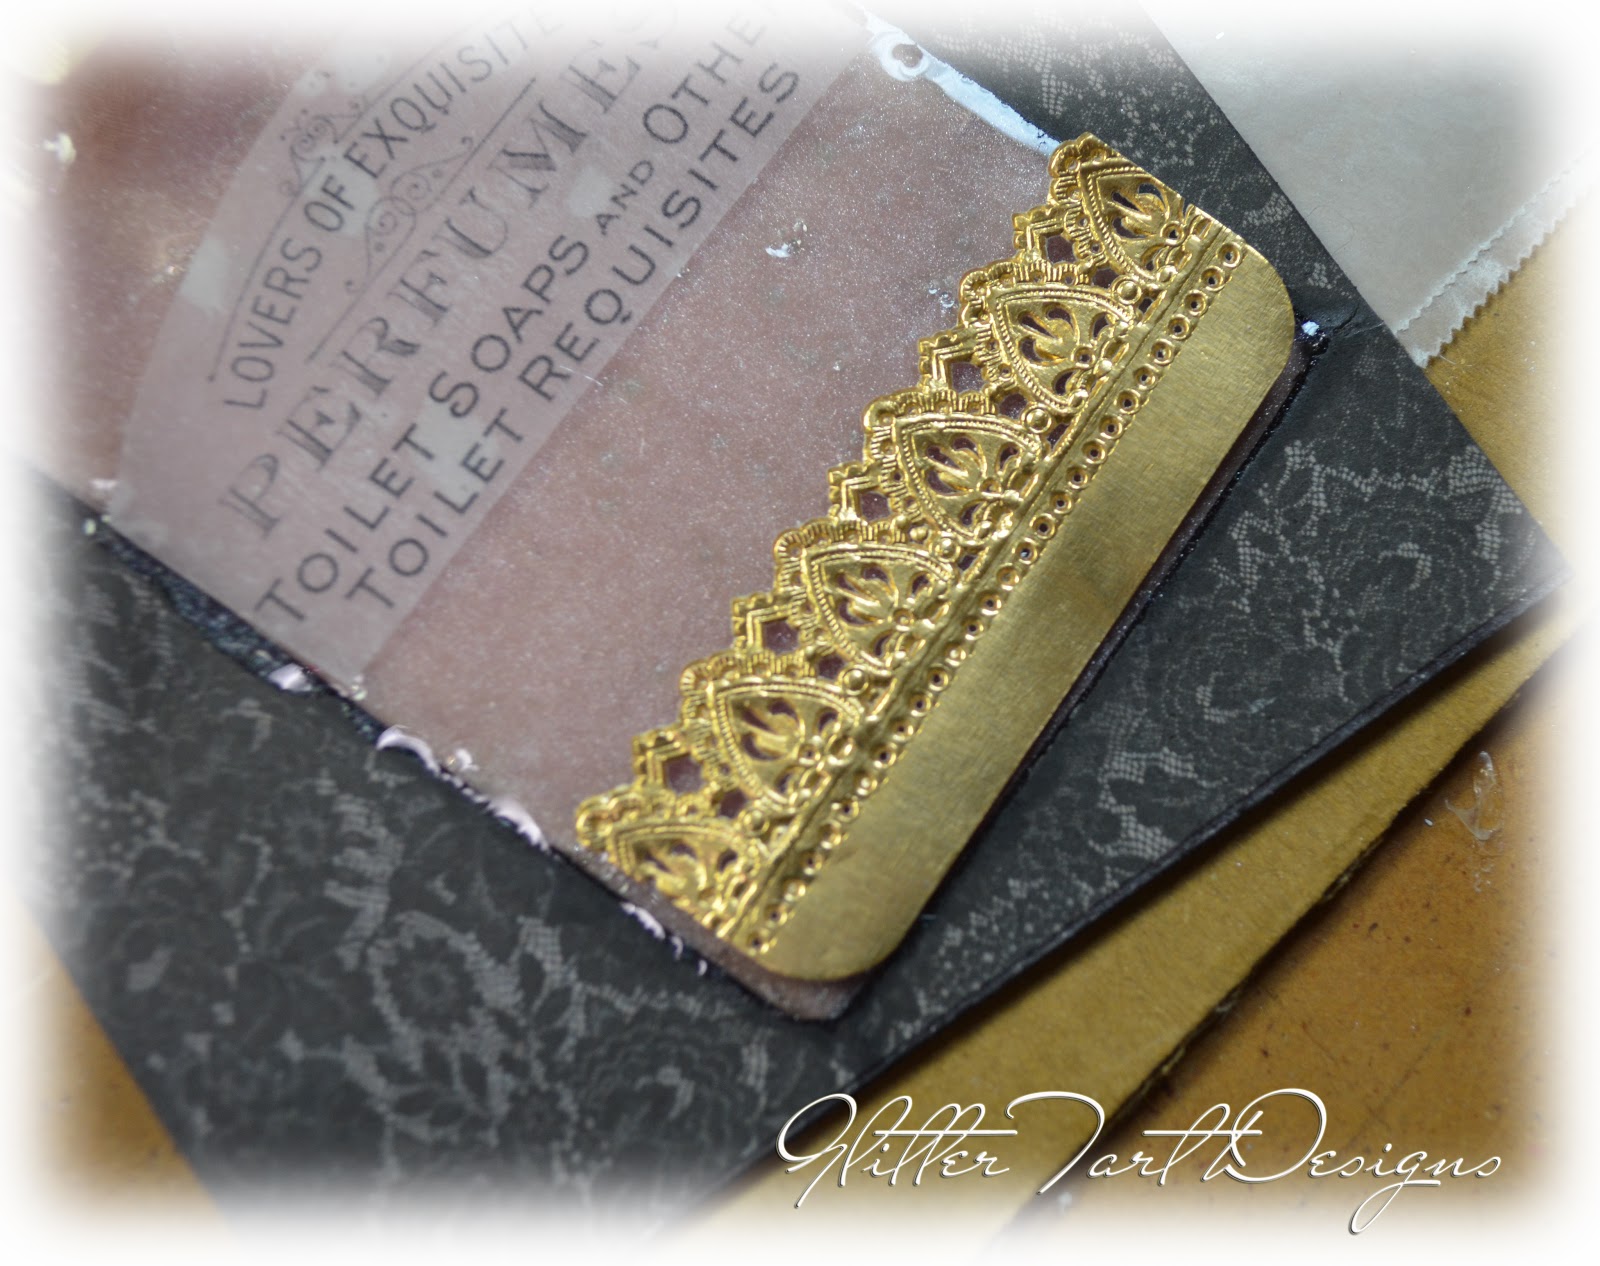
Step 9:
Time to add some Dresden.
I used two, a gold (I would suggest
Baroque Gold Dresden Boarders to replace the gold I used which is no longer available) and the Half-Rounded Dresden Borders in pink

Cut them to size and glue them together.

Step 10:
Add some ribbon around the neck by poking holes to weave the ribbon through.


Finish the ribbon off with some extra fibers and a pearl, see image below.

Step 11:
Attach Dresden on the front and back of the ice resin bottle.

Step 12:
Add your other embellishments,
6mm Pink Metal Flowers, Butterflies from the Blossomwood Die-Cut Boarders stickers, and Antique Gold Diamond Filigree cut in half and covered with Flamingo Liquid Pearls.
You can stop here, but I wanted a back to write on, if you would like that too, continue on.

Step 13:
Grab a piece of
Lightweight Chipboard Postcard and cover it with decorative paper.
My paper is from the Lyric 6x6 Paper Pad

Step 14:
Fold down a 1/4" to help the card sit like a triangle instead of with the back flush. This will allow light in so your ice resin shows off.

Step 15:
Draw a pattern onto a template of your Ice Resin cut out.

Step 16:
Poke holes through the chipboard to create the pattern.
Doing this allows for a difference in light to show through the ice resin when the card is closed.


Step 17:
Sand the back of the card down smooth.

Step 18:
Select a backing paper and attach using Rubber Cement.
I used a French inspired Post Card.

Here are your two piece separated.
Step 19:
Punch holes through the top, equal distance from one another, and reinforce with an eyelet.
There are some really fun Heart Eyelets available through Alpha Stamps.

Step 20:
Weave the two pieces together with Strawberry Glaze Seam Binding.

And there you have it,
all done!

This is what the card looks like open.

And a view of the back, I added a Pink Rose from the Pink Roses Dresden Scraps and have room to write.

I hope you enjoy!
Let me know if you have any questions and I look forward to seeing how you use all these wonderful products.
3 comments:
I want to feel the texture. It looks like I would like my fingers on it ;-)
And the colors are perfect!
Wonderful project! So pretty!
This is beautiful! Love what you did with the ICE Resin® and paper. Love all the layers! Thanks for the tut and thank you for linking up! Have a great weekend!
Post a Comment