Ever wonder what happens to all that candy, you know the best candies you hide for "later," well, the spider ran away with them!
This is one of my Nut Cup creations for Creative Wings Newest swap the
Nutty Halloween Swap. I was kind of thrown by this swap at first, didn't know anything about nut cups but after a few minutes of pondering I got some ideas and I am going to share them with you.
A Nut Cup Tutorial
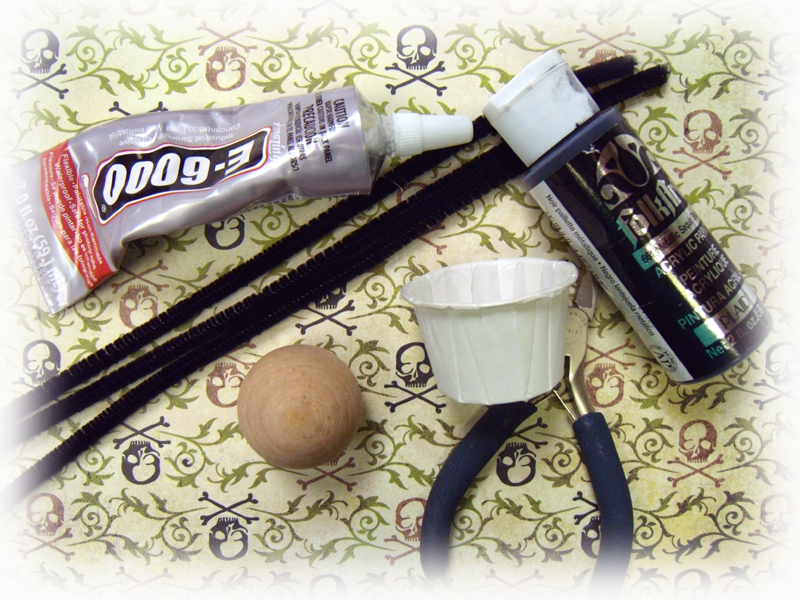
I found my nut cups at Michael's in the Cake Decorating aisle. There are two sizes, get the larger one (more details on Creative Wings Blog).
First Paint Your cup, I painted mine in a high gloss black, and I also painted the wooden ball (one side is flat) black.
Next take a strip of
black crepe paper (or color of your choice) and fold it. Not quite in half, the two layers will give the basket skirt more volume. I cut my strip twice the circumference of the nut cup (about 12")
Then run a straight stitch about 1/8" below the fold.
Once done with the straight stitch. Push the crepe paper into a loose ring like shown.
Make sure your nut cup is dry and run a line of glue around the lip (or just below).
Then gently place your crepe paper skirt around the cup, do this slowly making sure all the folds are like you want them. The crepe paper will tear if you have to pull it off and start over.
Next I cut a strip of orange rhinestones (aren't they devine!) you can use ribbon, lace, etc also.
Since I am gluing paper to metal I used E-6000, this stuff is strong so make sure you are in a well ventilated room. And affix the rhinestone trim.
I wanted my spider to have something that made him look fuzzy, my number one pick would have been flocking but I didn't have any in black so I mixed up some glitter.
In a small container mix high gloss (or not) modge podge and some black glitter.
Cover your ball completely.
Don't worry it will dry clear.
Next I cut a strip of black pipe cleaner about 6" and wrapped some
black leaf ribbon around it.
And hot glue it into place. Hot Glue is the only glue that I found that would stick things to the inside of the nut cup because it is lined with some sort of plastic coating.
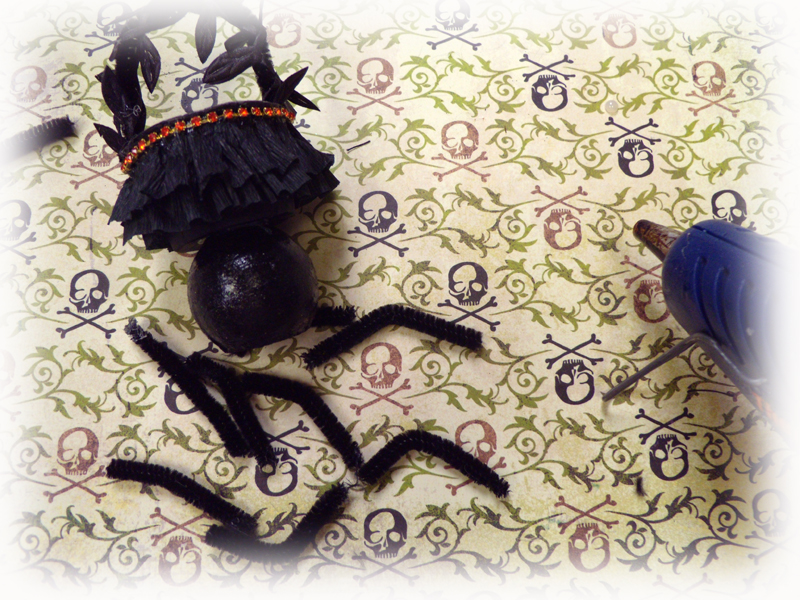
Now put a dollop of hot glue on your spider and plop the basket onto him.
Time for the legs. Cut 8 strips of black pipe cleaner about 2-3" long (longer is better because you can always trim later)
Place a dot of hot glue right where the spider and the basket meet and attach the legs one at a time. Keep the legs close at the top because you can bend them out.
Now it's time for finishing touches.
I added some orange glitter dots to the basket skirt and black to the leaves.
Painted the inside of the basket black.
Added some fuzzy fiber to look like a spider web.
And of course eyes and fangs.
All done, now time to fill him.
This is the view of the piece from the back, filled. The clip is a
glittered close pin with orange and black ribbon wrapped around it.
Other things that I included are, tickets, Dresden scrap cats, a ghost charm, some brads, lots of ribbon pieces, some black glitter in a bottle, stickers, Collage images and to fill up the box I will be adding one of my patchwork pumpkins.
See how easy that was. Now go check out Creative Wings Swap.
I hope to swap with you soon.