

I fell in love with Ice Resin the minute I got my hands on it.
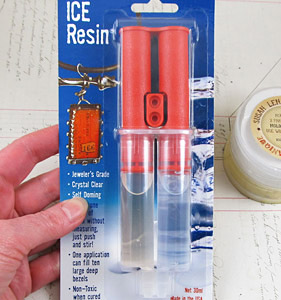 |
| click the above image to purchase Ice Resin from Alpha Stamps |
But I don't make jewelry; so how to make Ice Resin a part of my artwork?
Well, that's simple! I use a similar technique as that used for open-backed bezel pieces.

Step 1:
Cover a piece of mat board or chipboard with decorative paper using rubber cement.
(My paper is from the Lyric 6x6 Paper Pad)

Step 2:
Cut desired shape out of covered board.
I used one of the Chipboard Potion Bottles as a template.

Step 3:
Stain the visible edges with permanent ink.


Step 4:
Cover the back with clear packaging tape.
 |
| Click on any image to enlarge them |
You might need more than one piece of packaging tape to make a wide enough piece. Make sure your seam is clean, no bubbles/wrinkles.

Press firmly along the edges.

Step 5:
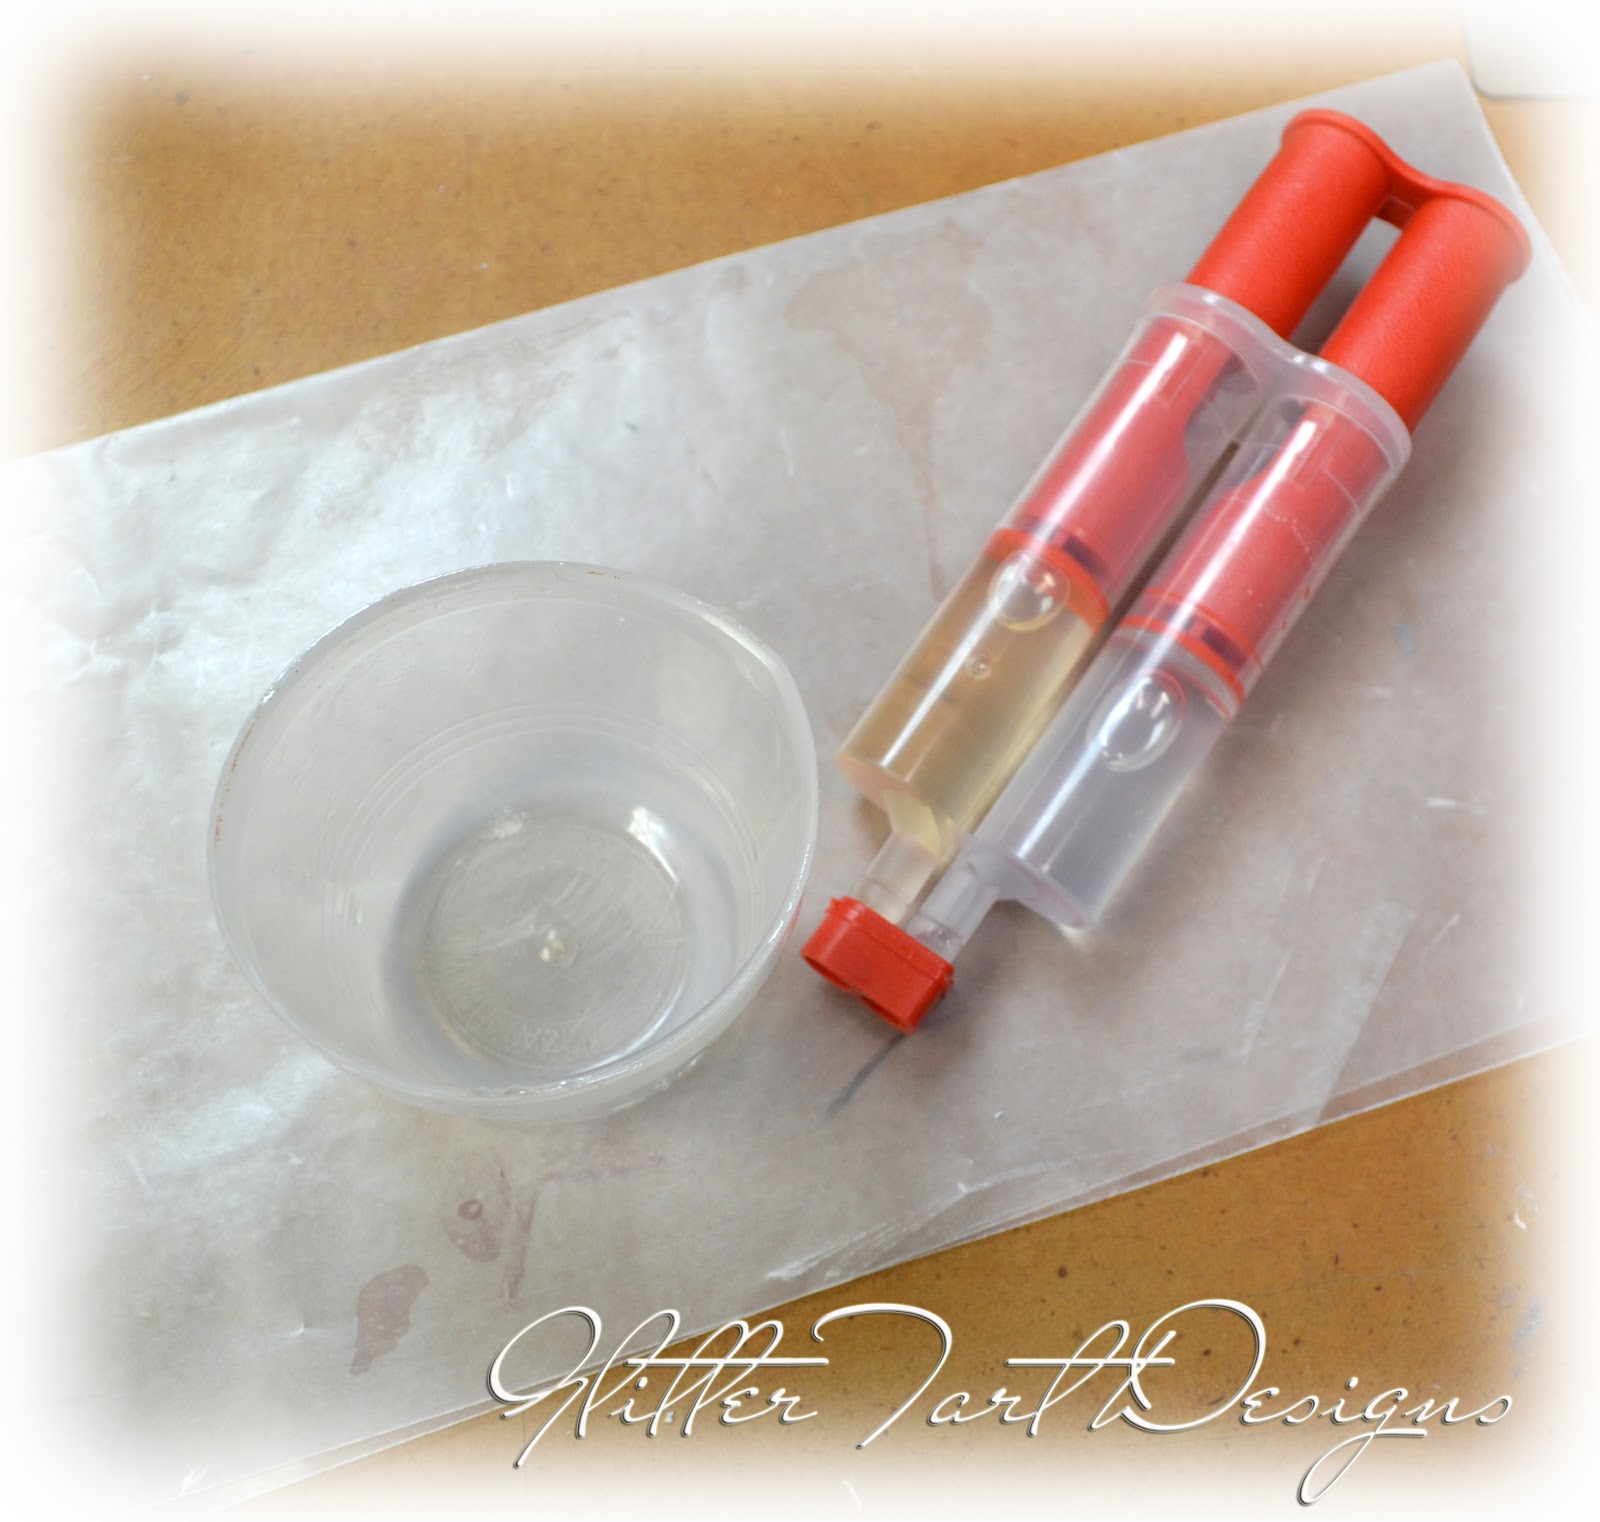
Following the instructions in the Ice Resin Kit; mix your Ice Resin.
You might want to have a mold or two (like these) on standby in case you have left over resin, no sense in wasting it when you can make some embellishments.

Step 6:
Pull together your mix-ins (let Ice Resin sit for about 5 Minutes before adding colors)
I'm using Pearl Ex powders to color the resin and will be adding some Glass Spheres to look like bubbles.

Add a small amount of Pearl Ex and fold it in for about 1 minute,
if you need more color add it now and then fold again.
Once you've achieved the desired color, stir for an additional 2 minutes.

I used two colors,
For my second color I just barely folded it in and let it sit again for 5 minutes.

Step 7:
Pour colored Ice Resin into opening.
Pour slowly, the resin spreads slowly and you don't want it to spill over the lip.


Step 8:
Add any items you want to dry into the resin
(IE: Collage Images, Paper Flowers, Metal Flowers, an assortment of Charms).
I chose to use Glass Beads, for a bubble effect.
I chose to use Glass Beads, for a bubble effect.


Step 9:
Allow to dry completely
anywhere between 6 hrs and overnight
(10 hrs).

Step 10:
Flip the piece over and remove the packaging tape carefully.


Check it out, now you have a see through bottle built into your paper art.
Let me know if you have any questions.
I hope you enjoy and create something fabulous using this tutorial.
Come back next thursday, April 25th, and I will show you how I finished up this project!
5 comments:
does ice resin have a funk??? I wanna order some but am very leary
My eyes are telling me that something smells delicious around here ;-)
I've nominated for an award. I'm not sure if you accept them, it's okay if you don't. I just wanted to, first, let you know that I love your eclectic blogging ways, and then I wanted to send people your way because I love sharing a good thing.
http://pagan-culture.blogspot.com/2013/04/epically-witchy-not-so-random-bits.html
Woo!! This is awesome, I think it would be cool to make earrings this way too, I really enjoyed seeing a process explained so even I could follow (I'm instruction challenged LOL) Well done!
So much fun! I still haven't tried the resin but I don't think that I Can avoid buying it any longer.
Wow Caroline, that's amazing! Thank you for sharing your tutorial. Now I'm really tempted to try my hands on ice resin too :) Hugs, Wendy
Post a Comment