

Yesterday I shared the goodies I sent to Kris for the Snips and Bits Swap at MAMA

And promised to show you how to create the container. I wanted to make it look like a vintage sewing box. I think I got pretty close.

Believe it or not I started with a cheep metal tin, you know the kind you get at Christmas filled with cookies.

I rough sanded the entire tin, inside and out.

Then I traced the base and lid onto some decorative paper and cut it out.


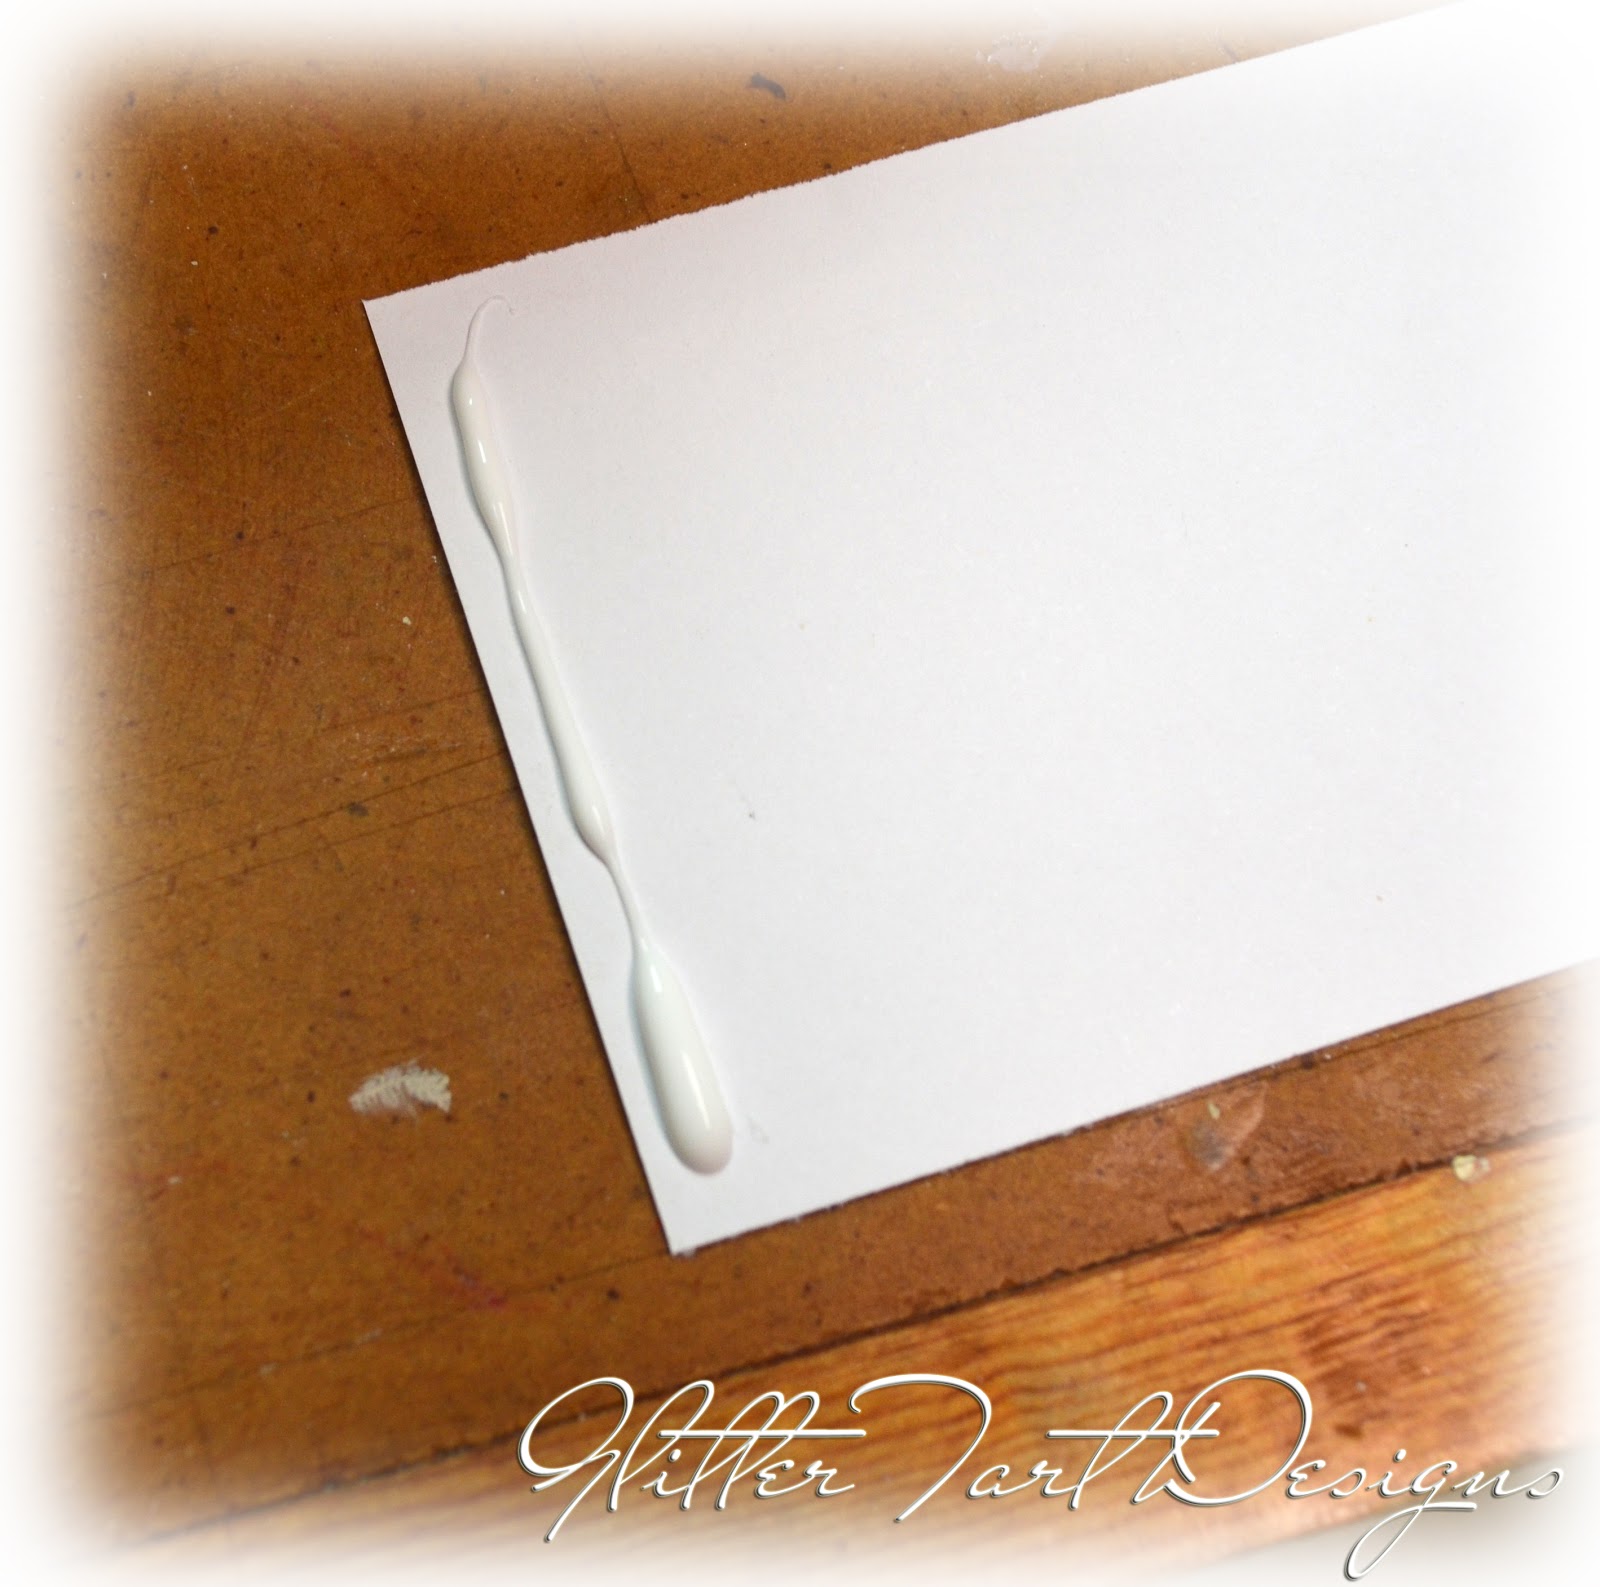
To adhere the paper to the tin I used a quick drying glue and spread it all over the base.


Before I attached the lids paper I stained the inside rim with alcohol inks. Do not put paper along the rim, you will not be able to close the tin if you do.

To determine the size of paper needed to go along the sides of the base measure the inside

and the circumference, making the overall length a little bit longer.

Apply glue in the same manner as before.
At the end of the paper strip add some glue (this is the section that will overlap).


For the swirls on the side I took some stickers and adhered them all around the circumference. If you don't sand the tin enough these will not stick.

For the top I hand cut a Fleur de Lis out of book board, sanding the edges and used thickers for the words.


Now you need
glue, I was out of Matt Medium so I used Mod Podge
tissue paper (color doesn't matter if you are going to paint it)
paint brush

Crumple your tissue paper

And place it randomly on your tin

Now start adhering it to the tin with the glue, place some directly onto the tin, and then brush over the top of the tissue paper with some. Make sure to work carefully, so you don't rip the tissue, and to get the edges nice and crisp.


Keep working until you have the entire tin covered with the amount of wrinkles you want.

Now spray the tin, or paint it with acrylic paint.


I couldn't stand the way the green looked so I scrapped it off with my Matt knife.

Much better

To add some depth I randomly applied various shades of distress ink.


Now for the fun part, adding the ephemeral.

I decided to not add too much, wanting the images to really pop!

A bit of lace and I was done.
See how easy!
Your turn.
Please share your creations.
6 comments:
love this look. I adore the way the tissue paper ads such a rich texture. great project. Oma Linda
Great tut! You did a wonderful job on transforming that tin. Thanks for sharing. Hugs!
And I love it! Thank you so much Caroline for making me such a wonderful gift! xox Kris
What a wonderful idea Caroline! I would have never thought to have done that. Now I wish I hadn't of thrown out the extra tins I had. Thank you so much for sharing! xoxo Rhonda...
This is gorgeous Caroline! Thanks for the tutorial!
What a terrific "make-over," luv what you created.
Post a Comment