

Here is another Nut Cup creation. This one I really like because the hat is hinged on, so you flip it up and can fill the inside with goodies. This little jem only took me about an hour. So while the tutorial may be long, the finished product will probably take you less time LOL.

Clearly I went with a more vintage grungy theme than the traditional Halloween on this one. I'm not sure which I like better.

You can't fit much in the little cup, but that doesn't mean what it gets filled with won't be fantastic.

Basic Supplies
Nut Cup
Paint
Paper
Collage Image
Glue
Ribbons, trims, rhinestones
Circle cutter
Inks
Cheesecloth

Start by painting the inside and outside of your nut cup

Next cut out the base of your witches hat (mine was about 2") and the cone (double the base).
I used a colluzle to do this (yes, I am aware of how behind the times I am sigh...) but anything that cuts a circle will work

Now find the center of your cone (the larger circle) and cut from the center to the edge (see below)


Now twist your circle into a cone shape (the extra paper at the bottom can be cut off later)

Glue along the seam. I used a paperclip to hold the shape until the glue dried.

Now gather a few items to "grunge" up your piece and cut a piece of cheesecloth, grunge it up too.


Next lets attach the hat base to the cone. You can eyeball it or trace around whichever works for you. Place glue on the base and hold your cone in place for a few seconds.

While that is drying lets decorate the nut cup itself.

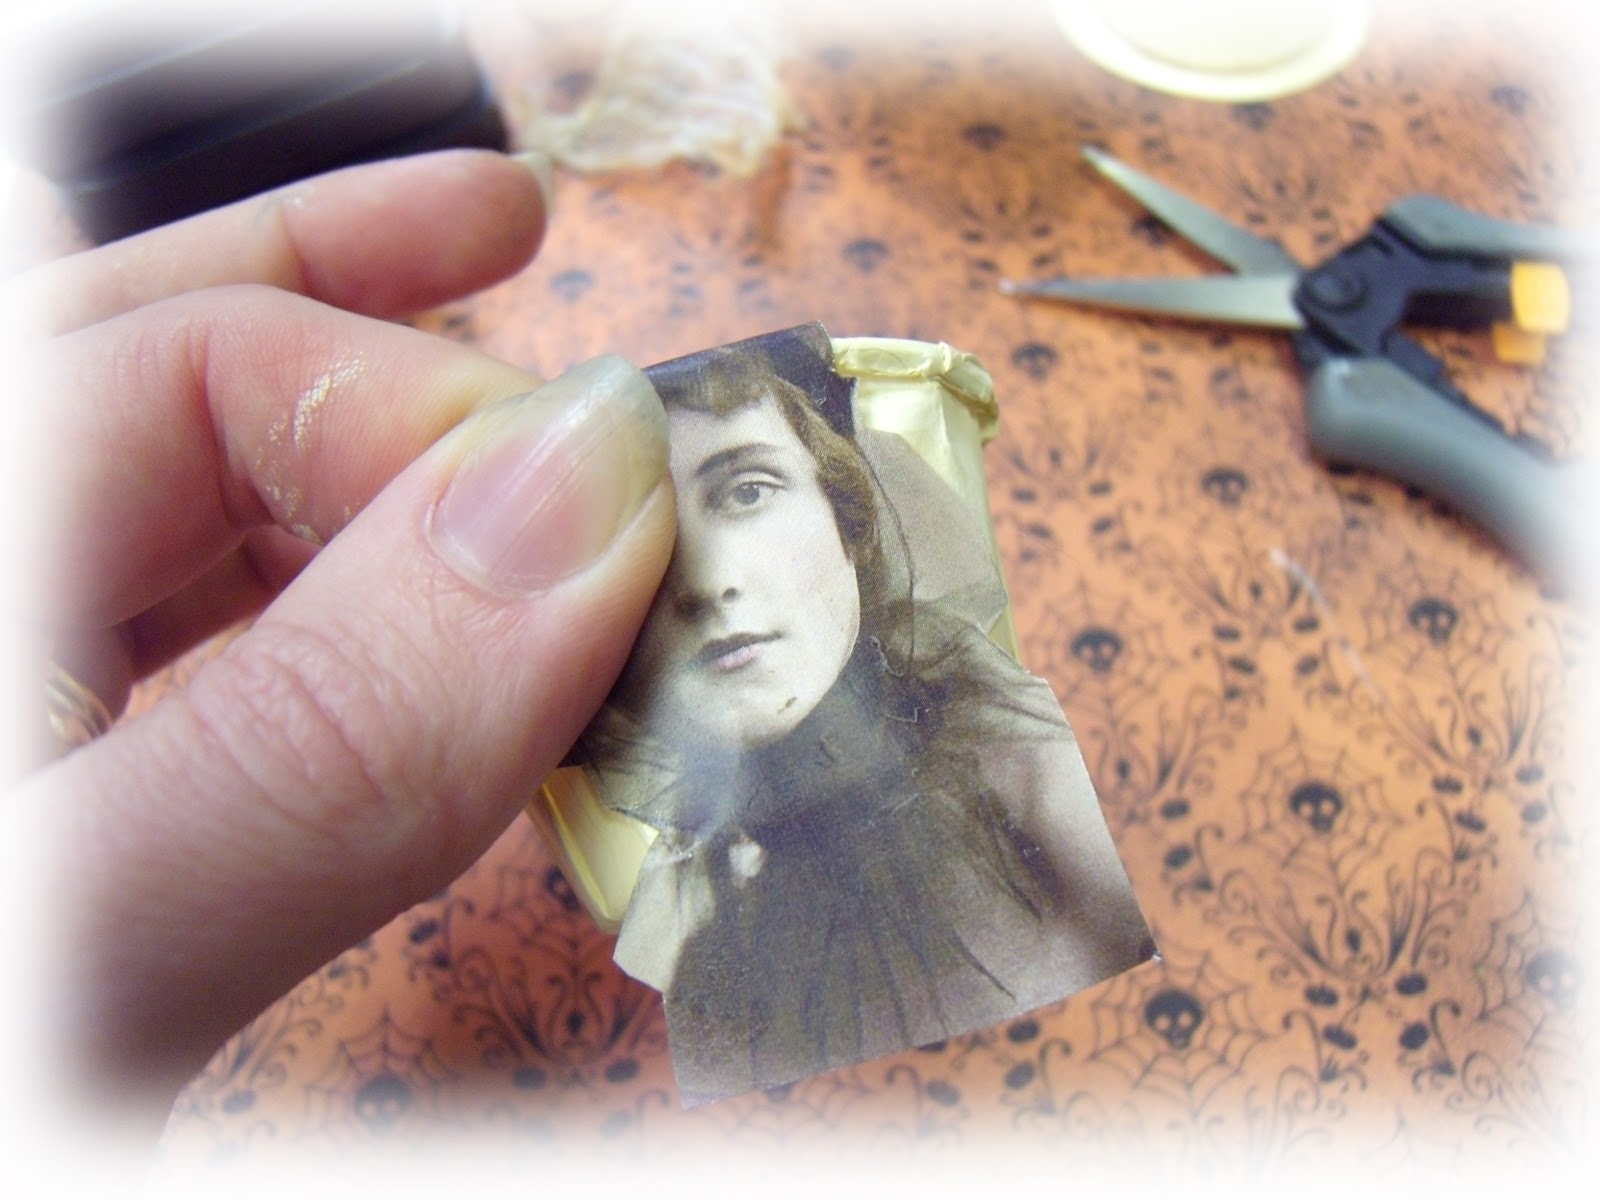
Find an image and cut it out, affix it to the nut cup (I used rubber cement) cutting off any excess and rounding the top of the image.

Now pull out some things to make the witches hat special. I picked tan seam binding and a rhinestone piece.

Glue them in place.


Next I attached my grunged up cheesecloth, it kinda looks spider web like.


To make sure that everything is nice and sturdy, cut a circle out of foam core the same size as your witches hat base.

Do Not Attach the hat to the foam core (yet)

I hid the foam core by covering it with a tan ruffle and other goodies.


While that is drying lets get the hinges going on the nut cup. This is the tricky part, but actually it wasn't that bad.

I started by shoring up my nut cup, adding two strips of foam core where the screws of the hinges will go. I used small dollhouse hinges that I found in the wood working section at Michael's

Mark where the screws will need to go and start your hole with an awl or other sharp object.

Set the cup aside and now determine the placing on the hat. The easiest way to do this is to temporarily tape the hinge onto the nut cup (in place) then place your hat on top. Carefully (without moving the hat) reach in and grab the hinge and hat and pull them away from the cup. Voila you know where you want your hinge and can mark the spot.

The order is important, you must attach the hinge to the top (foam core piece) first. Don't worry if the screws pop out of the foam core a bit, they can be trimmed and remember we still haven't actually attached the hat yet, so all holes will be hidden.

Place the unattached hinge on the outside of the nut cup and screw it into place, since you pre-poked the holes this part will be easy.

Here is what the base will look like when it is hinged.

Now it's time to finish it all up. Attach your Witches Hat to the base with your favorite glue, I like Rubber cement.

All done!
Closed

And open
I hope you have enjoyed this tutorial and find it helpful. Please feel free to ask any questions. Thanks so much for reading my blog.
6 comments:
Wow that is stunning... My favorite so far... Hugs
I love this! Thanks so much for sharing this tutorial :-)
oh that is so stinking cute! there might be a rendition of this somewhere in my cards at some point in my life!! I adore it.
xo~Hope
The wee hat is adorable! Nicely done :)
This is just SOOOOO gorgeous,must make one,I am in the UK what could I use as a nut cup I wonder?????
Awesome tutorial!
Where in the heck do you find those nut cups???
:-D
Post a Comment