

Welcome Back, so glad you could join me again. If you missed Day 1 or need a review of where I am Day 1 can be found HERE
To start I review my plan and make any changes I dreamt up (and I did dream one up, I don't think my "O" is prominent enough so I have a plan to add an even bigger one now).

During the drying process my pages rolled, no big deal.

I give them a quick ironing. I stack a bunch of them together to make this go faster. Make sure you move your iron constantly you don't want to burn your paper and be careful when you move the paper off the ironing board, it is HOT!

All better!

Remember these? Still working on them so I get some more going. Right now I am making about 5 a day which is perfect.

So I am ready to start stamping my images onto my paper. Let me introduce you to a tool that I would be lost without, my Stamp Positioner. Mine is old and I couldn't find a link but a quick Internet search will pull up a bunch of different ones. If you have never used one before then get ready to be amazed!

Position the clear acrylic block (not your stamp, the thin portion that comes with the positioner) into the corner of your T-square (many are just L shaped). Next butt your stamp corner up to the corner and stamp your image onto the clear plastic.

Here is a picture with my stamped image on the positioner.

Next position the stamped image onto your paper and then fit in the T-square. Remove the clear stamped image, be careful not to bump the T-square.
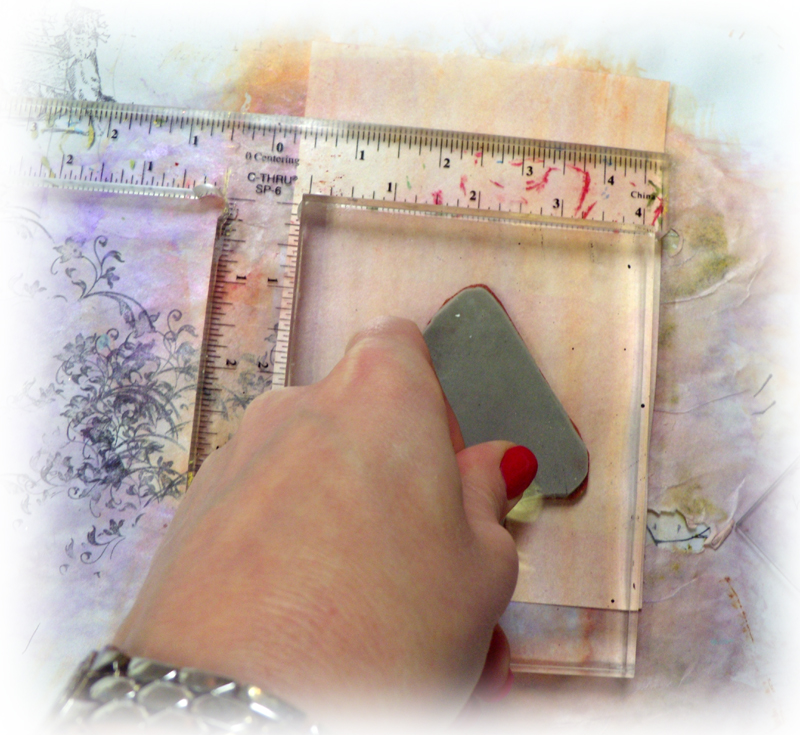
Now stamp your image onto your paper using the T-square as a guide.

Voila!
I'm done for the day, today I have a bunch of chores and need to hang with my oldest kido but if you still have time you can of course stamp more of your images. Just make sure that you don't get burned out on it.
See you next time!
No comments:
Post a Comment